Dsigngo is a Graphic Design and Digital Marketing Company.

ARCHITECTURAL VISUALIZATION
Experience designs before construction with realistic 3D architectural renders that improve decision-making and streamline project approvals.

PRODUCT VISUALIZATION
Showcase products through high-quality 3D renderings that boost engagement, highlight features, and enhance marketing campaigns.

MOTION GRAPHICS
Create dynamic 3D animated elements for impactful videos, presentations, and social content that capture audience attention.

CGI EFFECTS
Enhance visuals with stunning CGI effects, blending imagination and realism to elevate your video content and storytelling.
web development
Lorem ipsum dolor sit amet, consectetur adipiscing elit. Sed cursus sollicitudin odio, eu tempor velit pellentesque et.
- Content management systens
- Virtual shops and ecommerce
- Presentation websites
- Online catalogues
- Portal systems
- & any other dynamic website
graphic design
Lorem ipsum dolor sit amet, consectetur adipiscing elit. Sed cursus sollicitudin odio, eu tempor velit pellentesque et.
- Logo design
- Flyers & Brochures
- Business Cards
- Stationery Design
- Powerpoint presentation
- Print Ads / Magazine
- Banners
internet marketing
Lorem ipsum dolor sit amet, consectetur adipiscing elit. Sed cursus sollicitudin odio, eu tempor velit pellentesque et.
- Search engine optimisation
- Search engine marketing
- Internet advertising
- Web analysis
- Blog marketing
Dynamically restore enterprise value vis-a-vis robust resources. Globally monetize multimedia based leadership skills vis-a-vis client-focused customer service. Objectively synthesize e-business deliverables.
Dynamically restore enterprise value vis-a-vis robust resources. Globally monetize multimedia based leadership skills vis-a-vis client-focused customer service. Objectively synthesize e-business deliverables.
WHO
WE ARE
Ut pretium, sapien blandi vulputate mattis, lorem elit bibendum mi, quis dignissim ipsum neque.
- Aliquam feugiat eleifend
- Fusce sit amet orci quis arcu
Phasellus in risus quis lectus iaculis tate.
SOME OF OUR RECENT PROJECTS
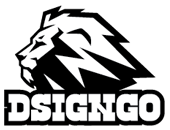
VIEW ALL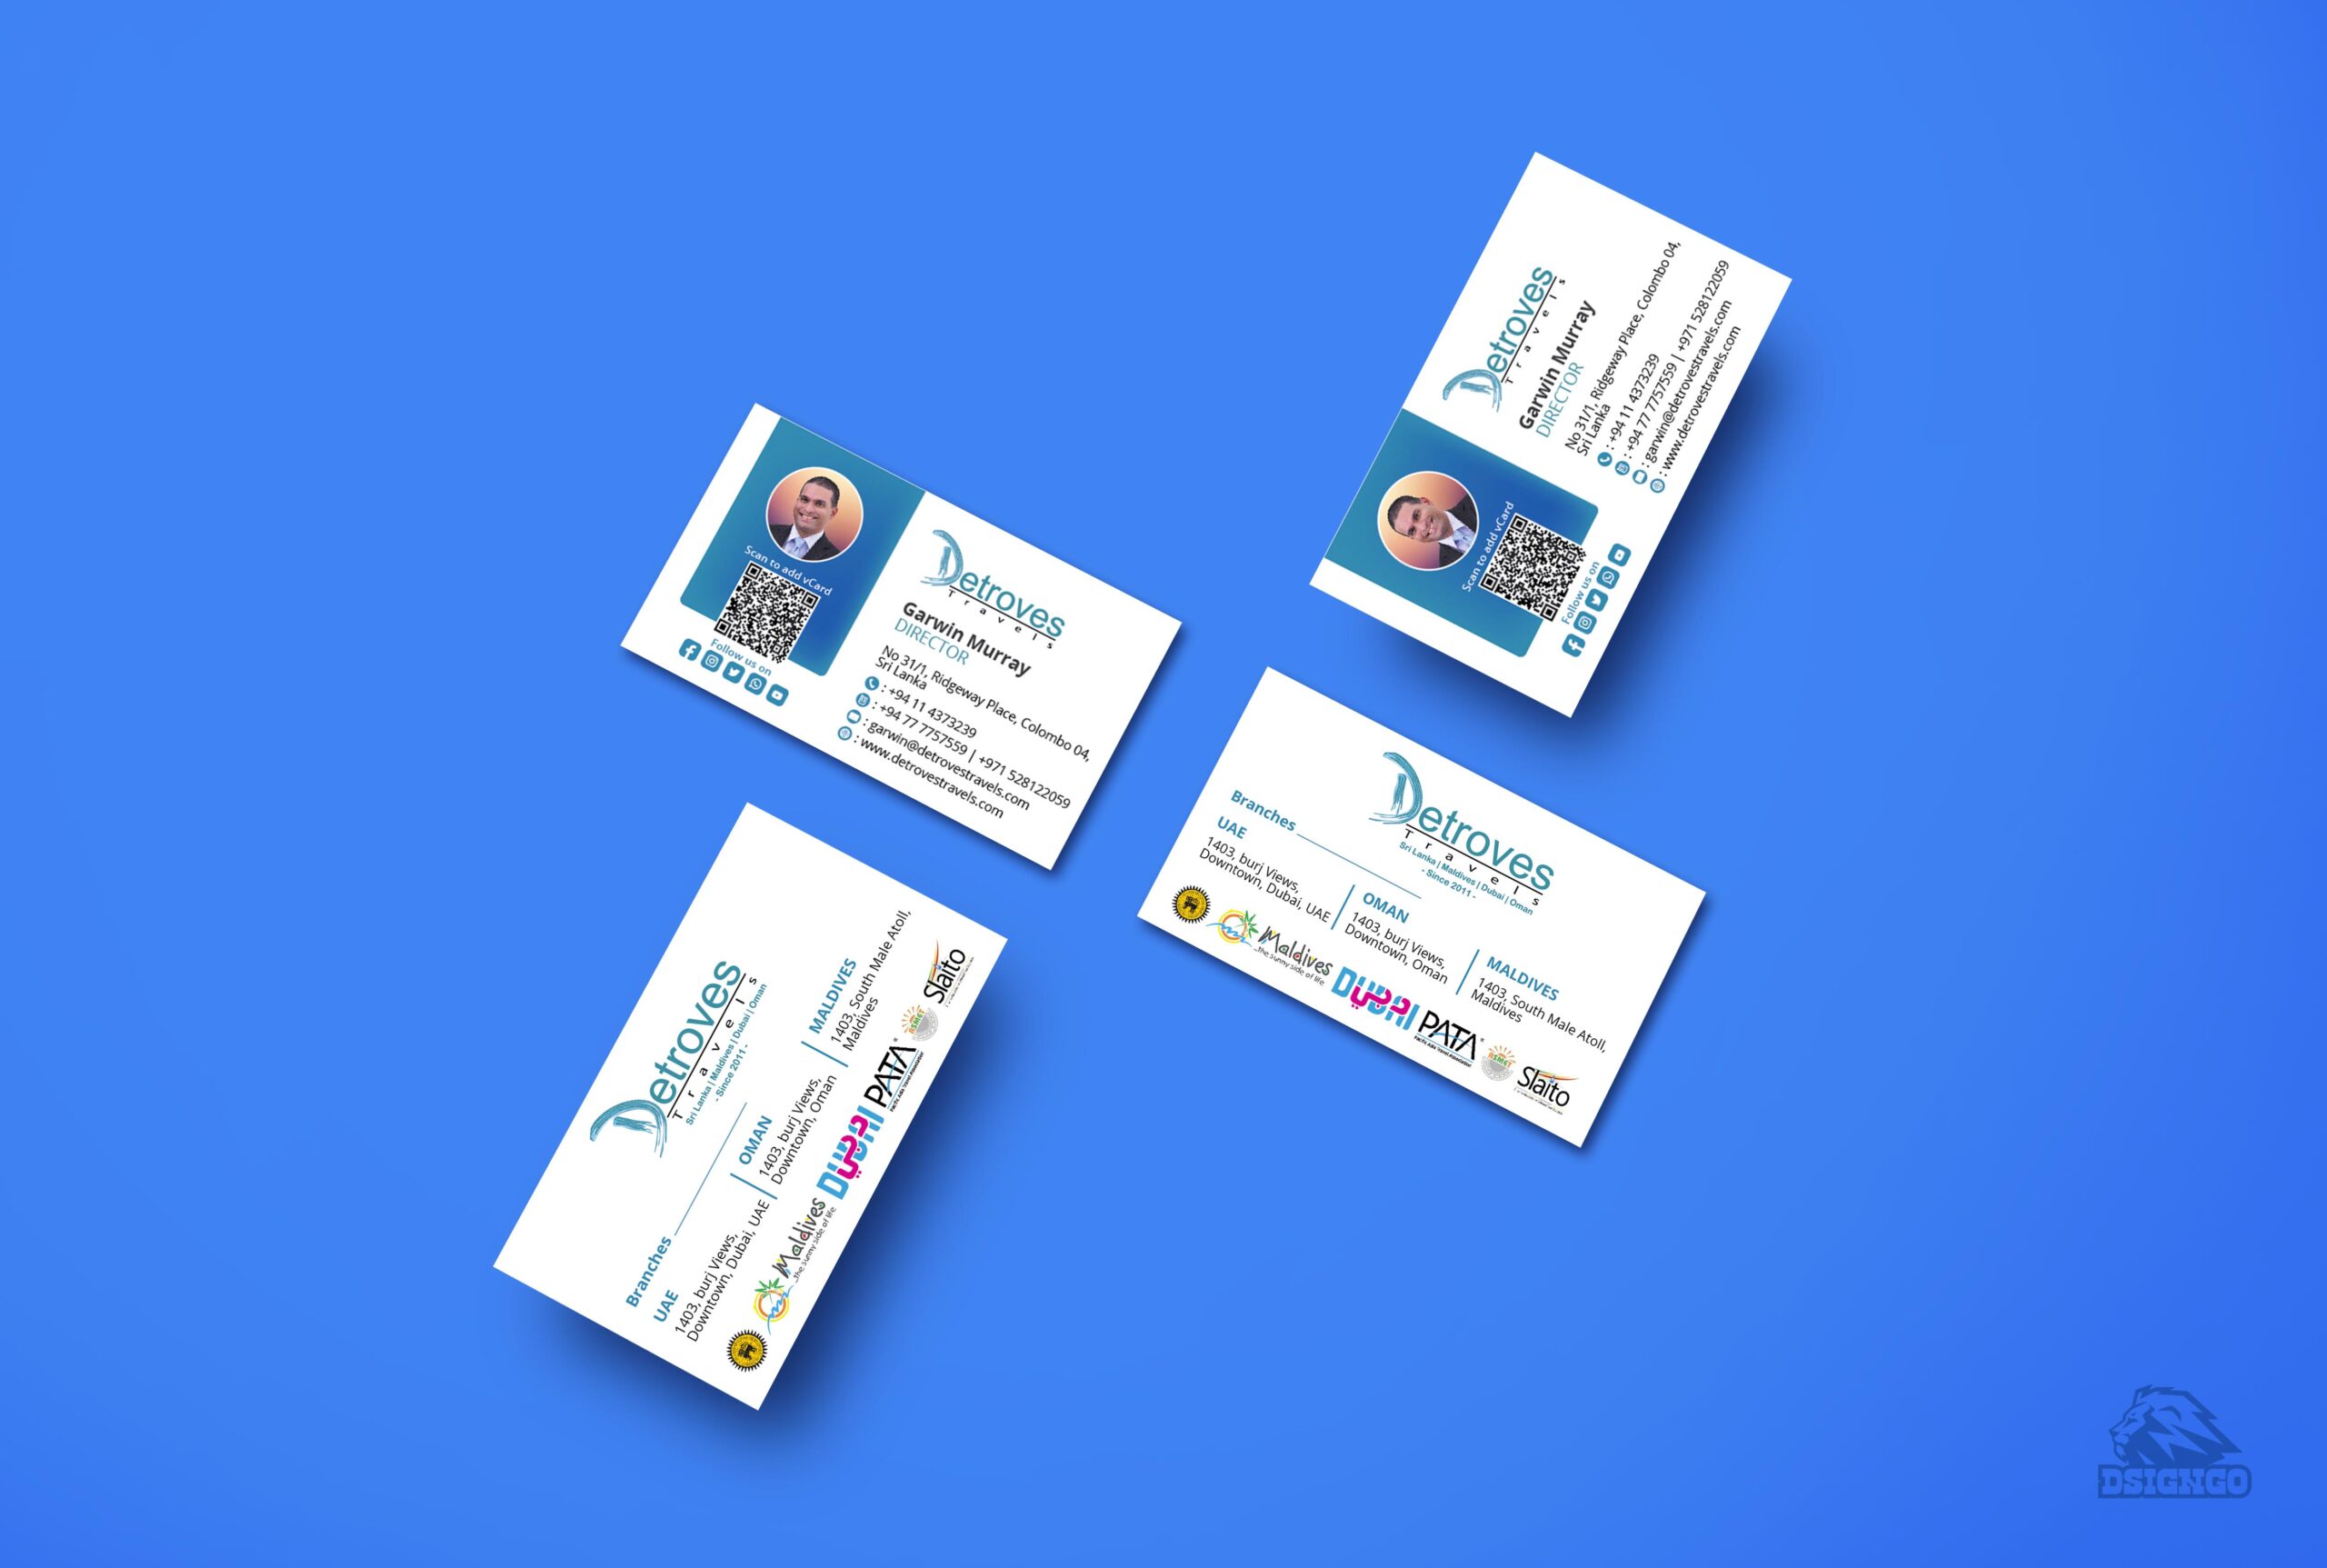 Graphic Designs , printing
Detroves Business Card Design
 Branding , Graphic Designs
ZUZI clothing store bag
 Graphic Designs , Packaging
Sam Tea Pure Ceylon Tea Bag Design
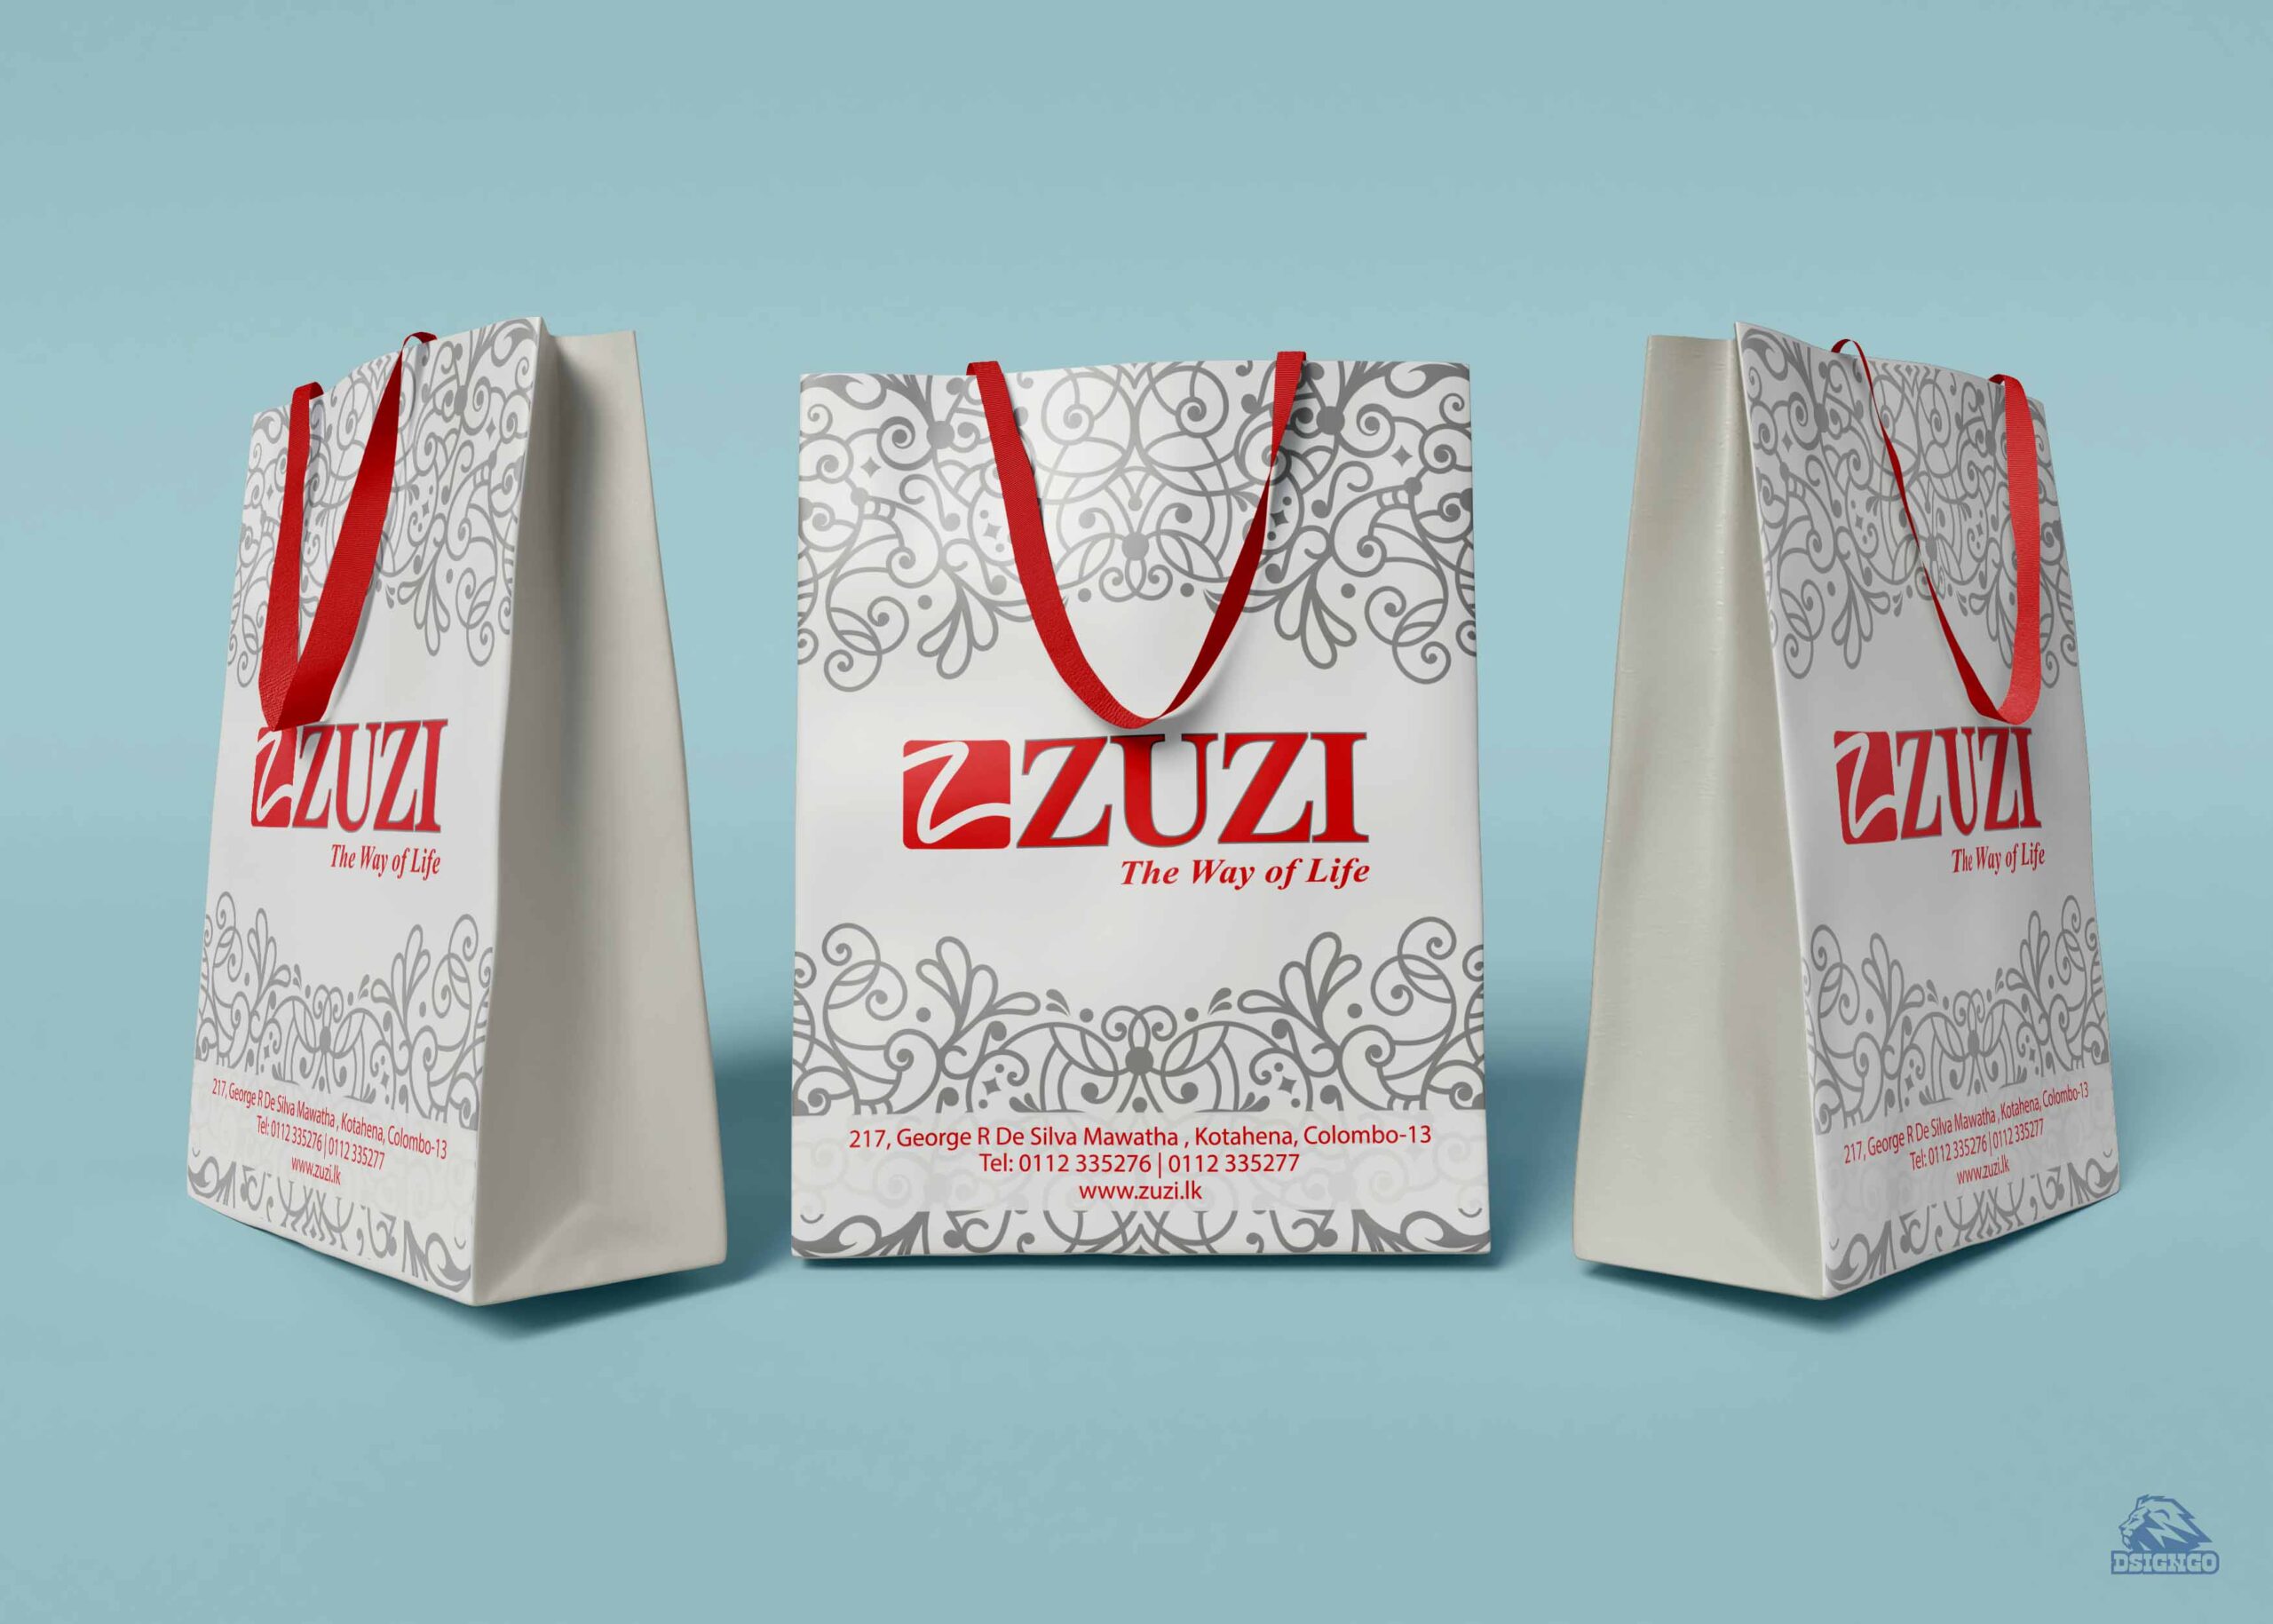
 Graphic Designs , printing
Aveata business card design
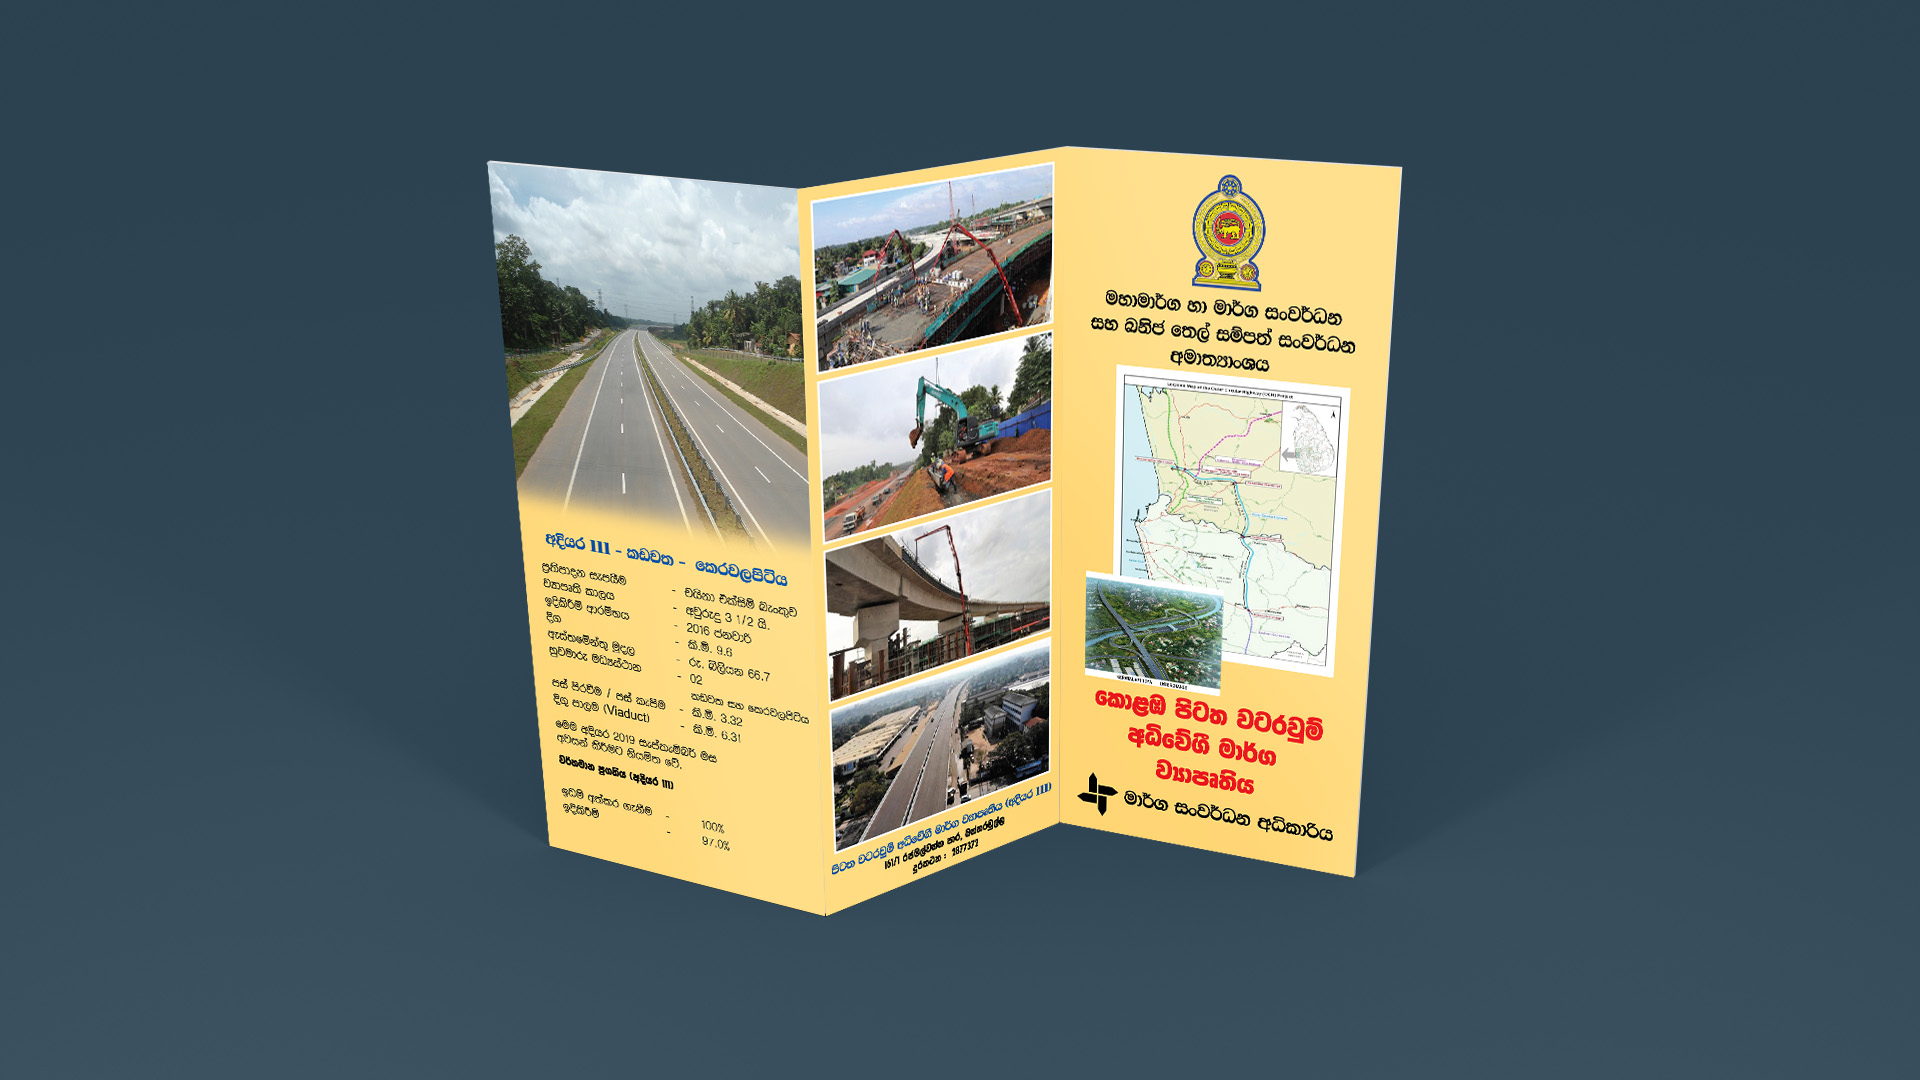 Graphic Designs , printing
Road Development Information Brochure
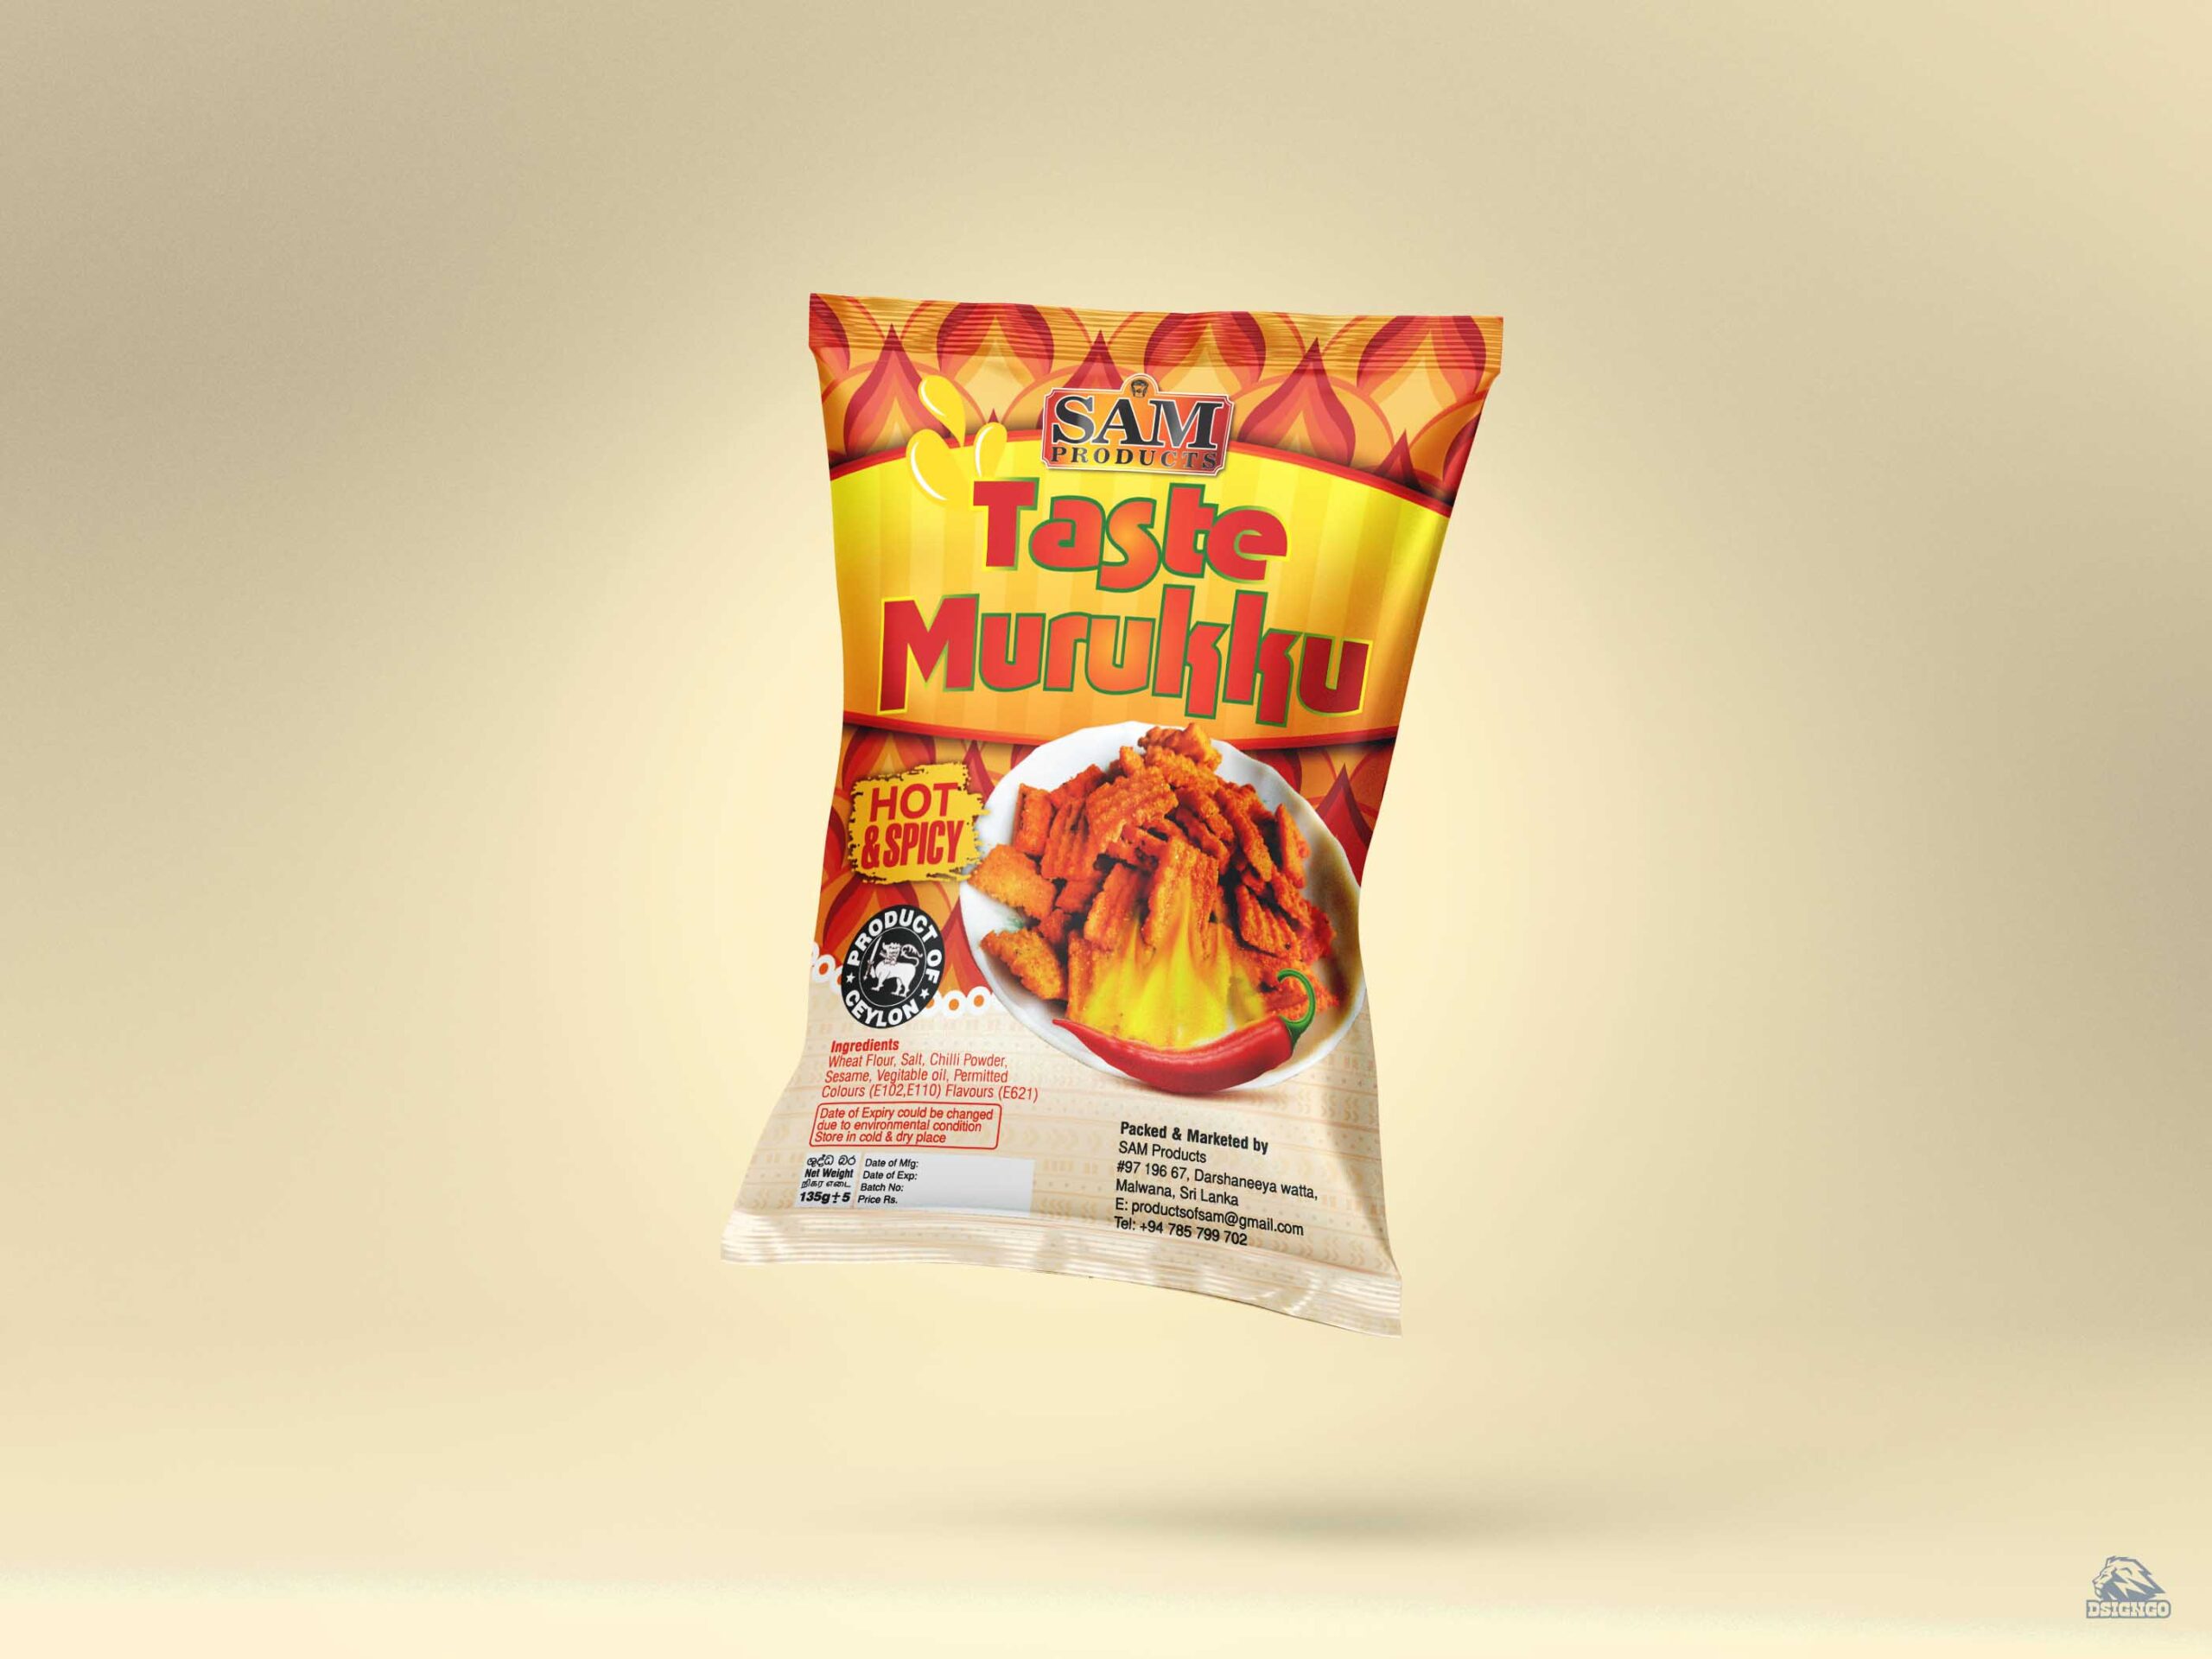 Graphic Designs , Illustration , Packaging
SAM Products Murukku Packaging Design
 Branding , Graphic Designs , Logo Design , printing
Ceylon Tea Logo Design
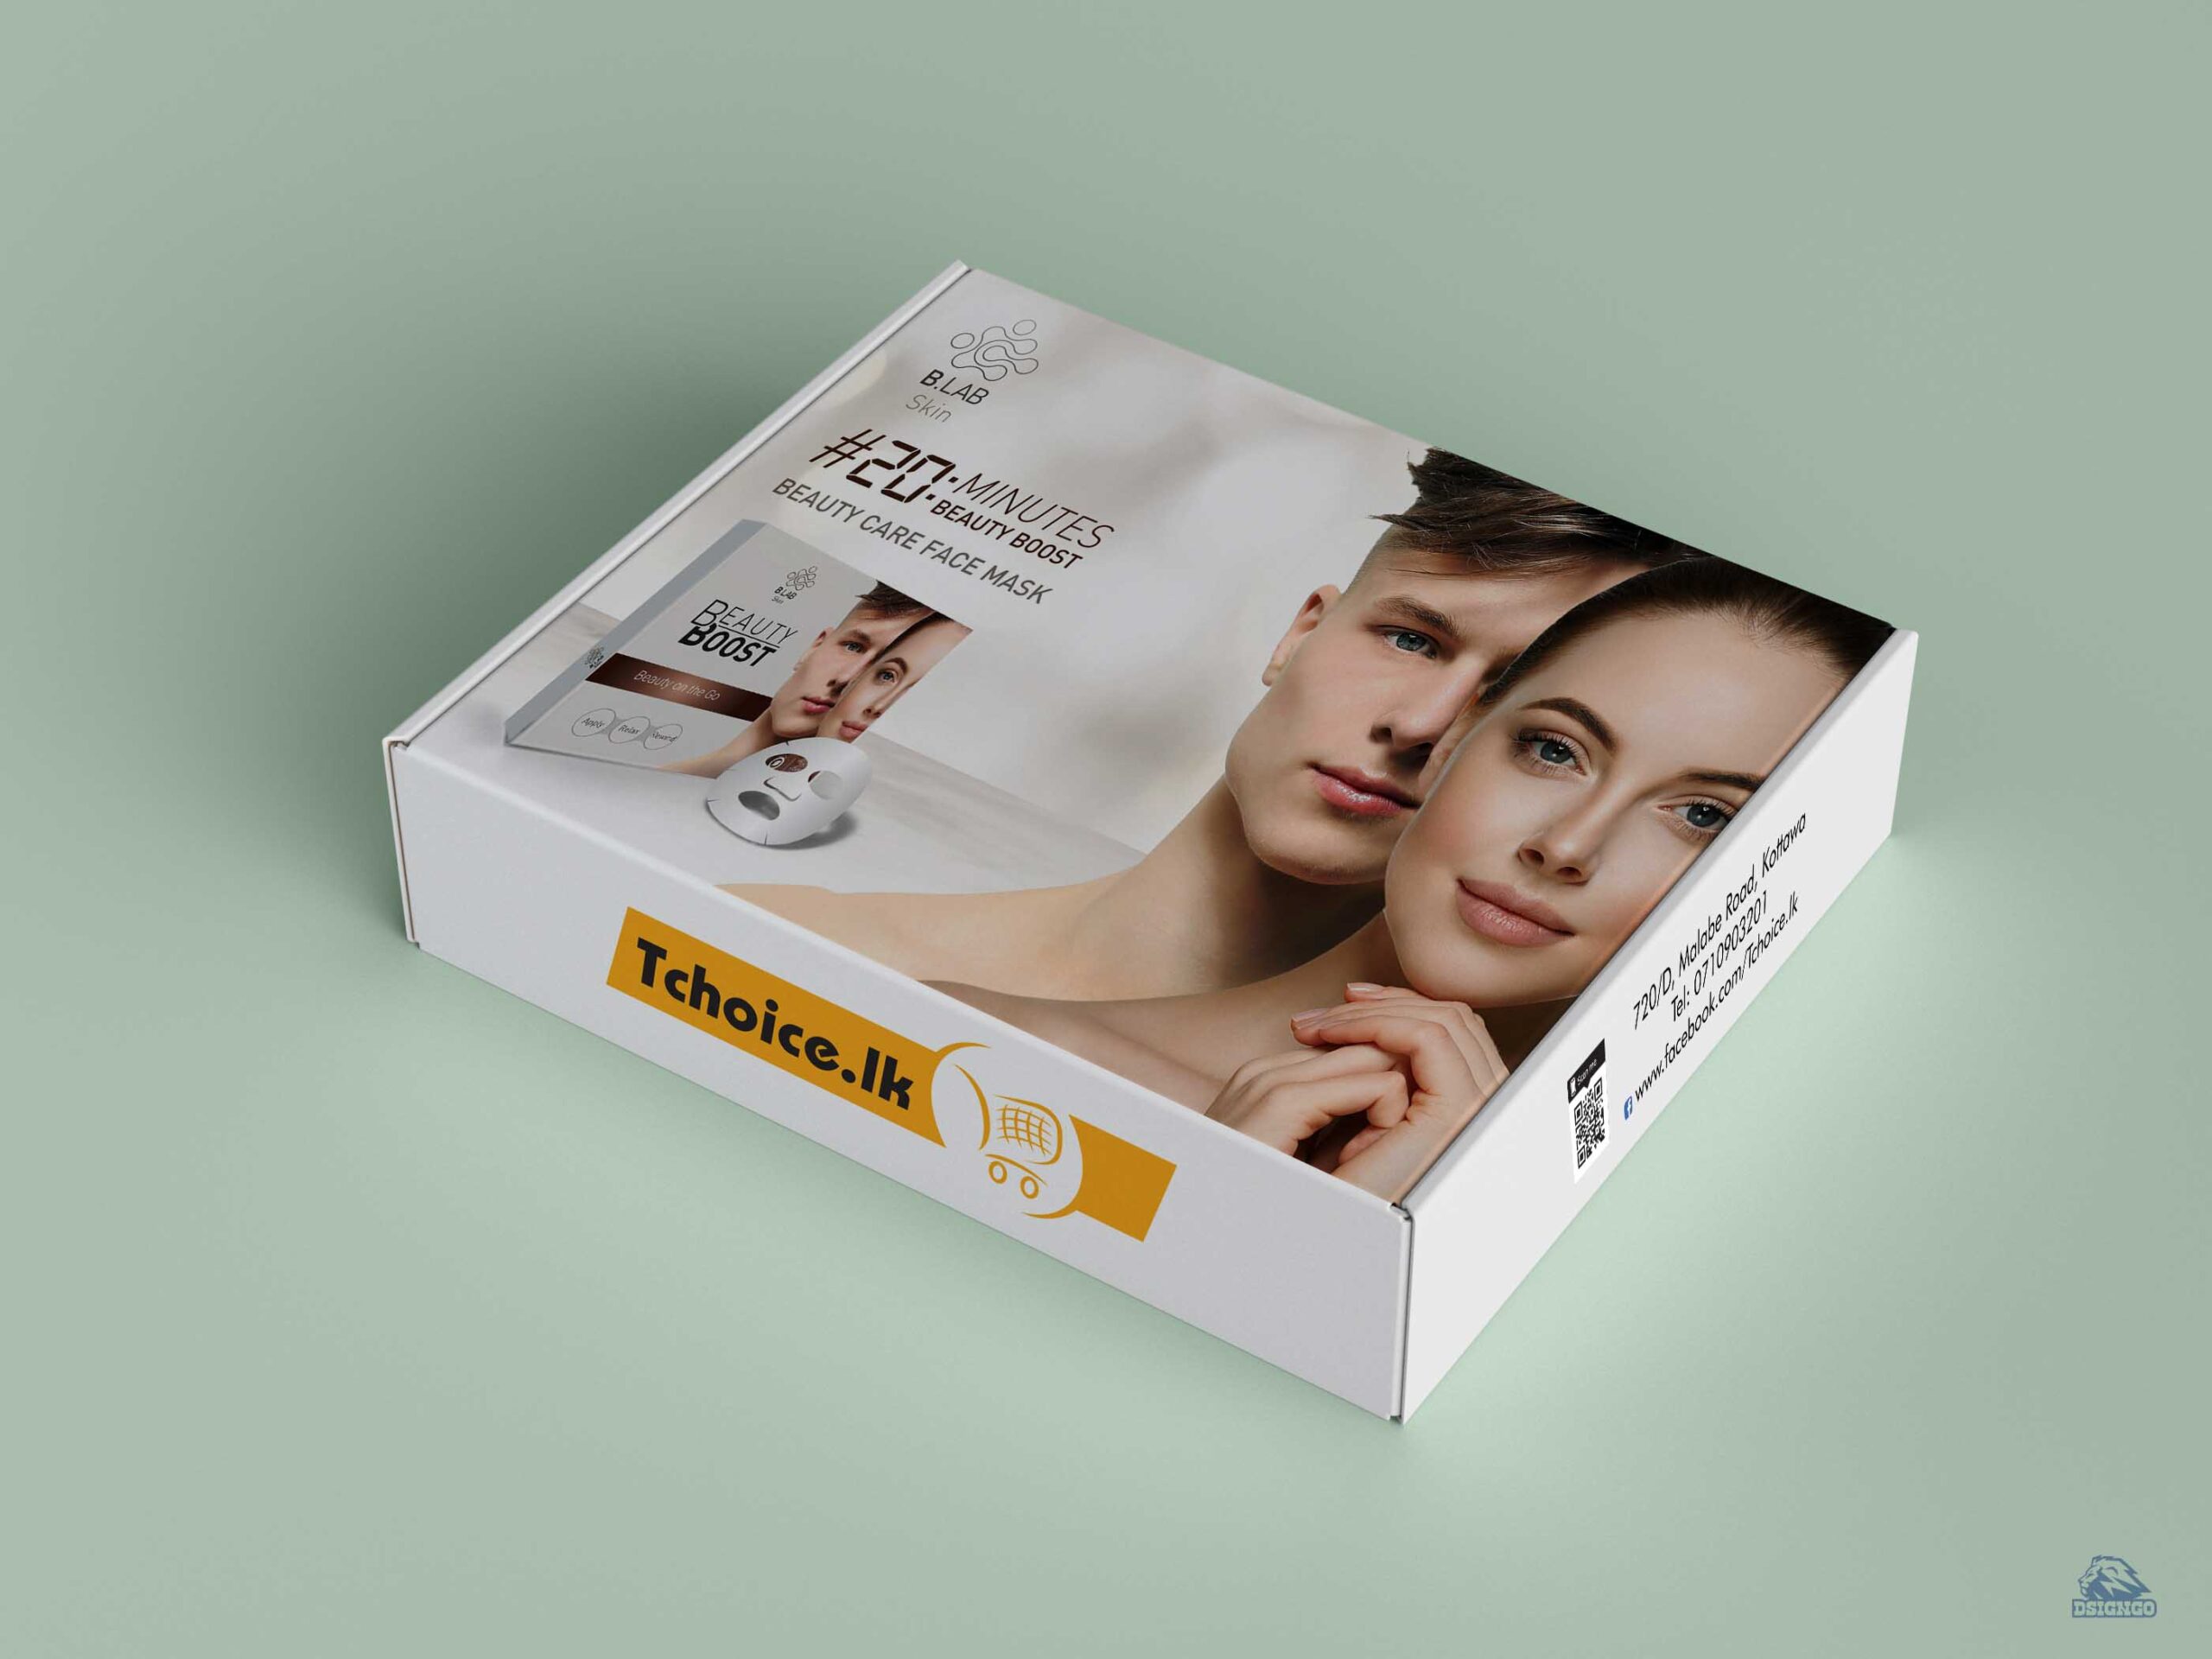 Graphic Designs , Packaging , printing
T- Choice Whitening Cream Packaging Box
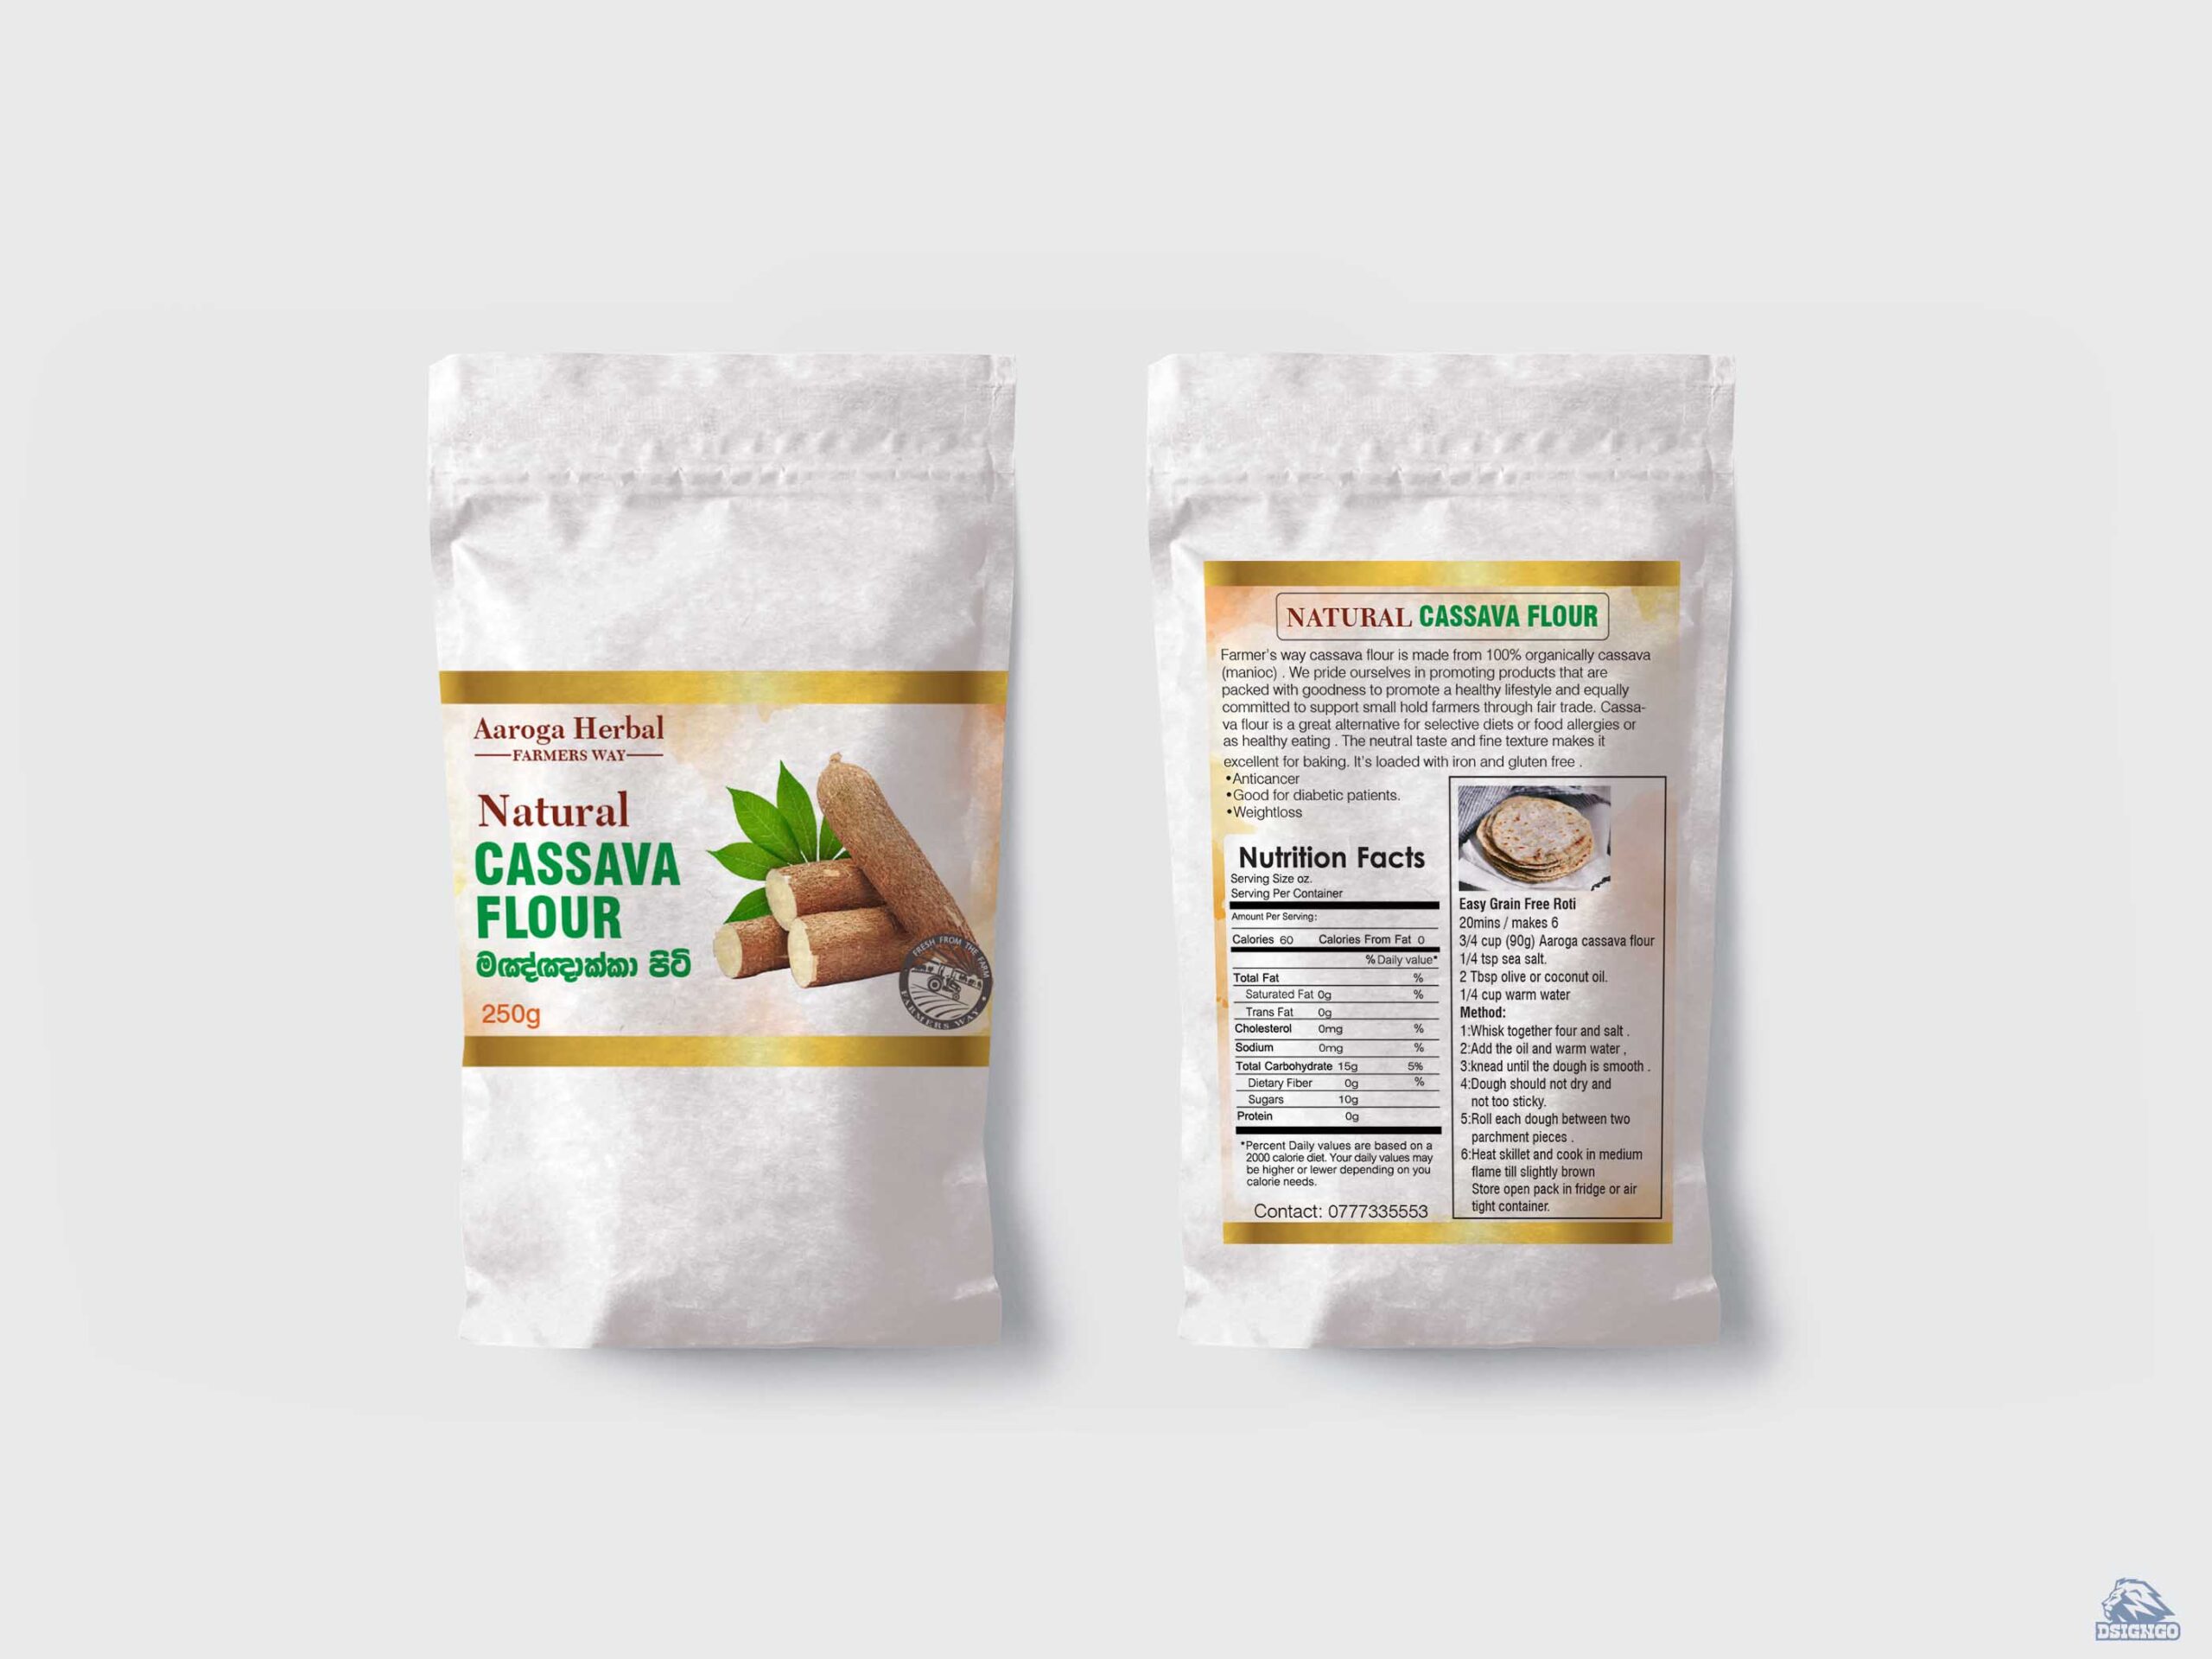 Graphic Designs , Illustration , Packaging
Cassava Flour Packaging Design
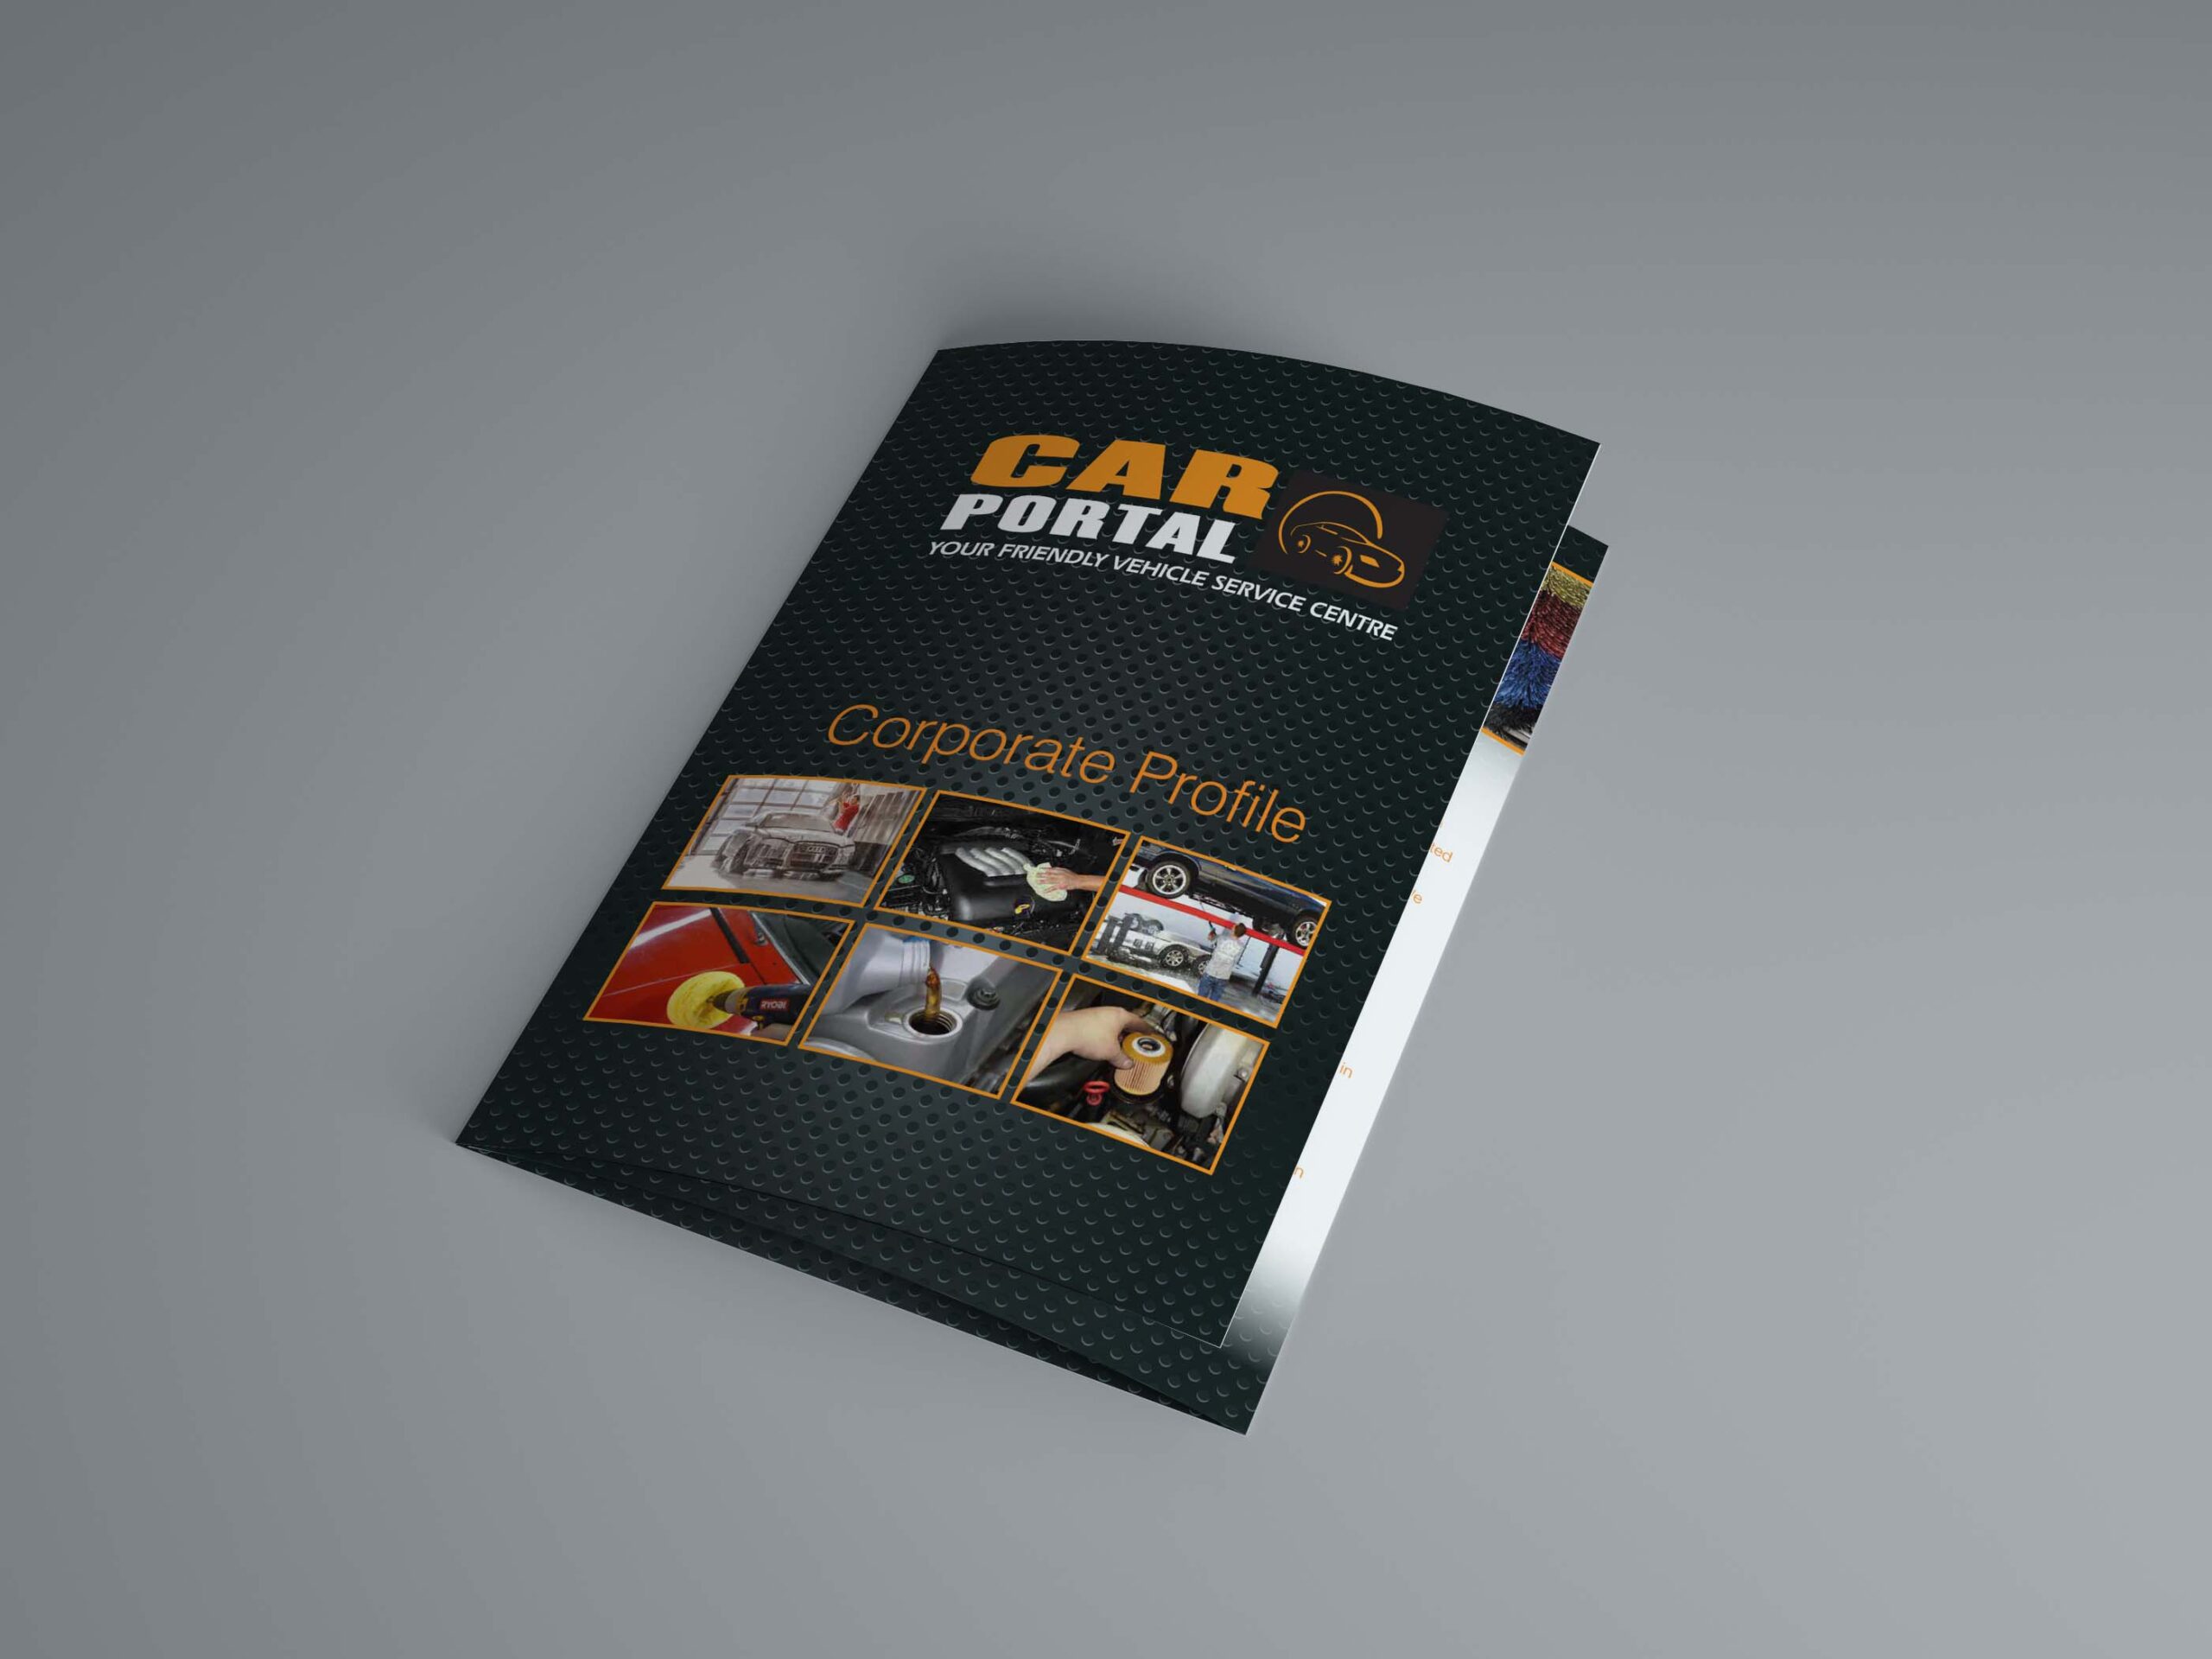 Branding , Graphic Designs
Car Portal Company Profile
- 01. Concept Development
- 02. Storyboarding & Animatics
- 03. 3D Modeling
- 04. Texturing & Shading
- 05. Rigging & Skinning
- 06. Animation & Motion Design
- 07. Lighting & Atmosphere
- 08. Rendering
- 09. Post-Production & Compositing
Strategic Ideation and Creative Blueprinting
This foundational phase is where the animation project begins to take shape conceptually and strategically. It starts with detailed client consultations and stakeholder meetings to identify the animation's objectives—whether it’s product promotion, architectural visualization, educational content, or brand storytelling.
Key deliverables and actions include:
-
Audience Profiling: Understanding the demographic, psychographic, and behavioral traits of the target viewers.
-
Narrative Structuring: Drafting a preliminary script or content outline that aligns with the brand voice.
-
Moodboarding: Curating references for design language, color palettes, animation style (2D flat, 3D realism, motion graphics, isometric, etc.), and tone.
-
Style Frames & Visual Explorations: Early static designs that preview the aesthetic.
-
Creative Brief & Concept Doc: A comprehensive document outlining goals, tone, timeline, visual direction, and platform-specific requirements (e.g., social media, broadcast, AR/VR).
This phase often utilizes tools like Miro, Notion, or Figma for collaborative ideation and reference gathering.
Storyboarding and Pre-Visualization – Visual Scripting & Motion Blueprint

Here, the narrative is broken down visually into sequential frames. This is a crucial step that bridges the script and the full production pipeline.
-
Storyboards are hand-drawn or digitally sketched visual panels with notes on:
-
Camera angles (wide, close-up, dolly, pan, etc.)
-
Shot duration
-
On-screen actions and transitions
-
Dialogues and scene timing
-
-
Animatics: Time-based previews created from the storyboard panels, synchronized with temporary voiceover, music, and sound effects to preview flow and pacing.
-
Previz (Pre-Visualization): In complex 3D scenes, blocking shots in 3D space using low-poly proxies for early camera movement and composition checks.
Tools used: Storyboard Pro, Blender Grease Pencil, Adobe Premiere Pro, After Effects, ShotGrid, or Unreal Engine Sequencer for cinematic preview workflows.
Digital Asset Creation
At this stage, high-fidelity 3D models are created for every element in the scene.
-
Character Modeling: Involves organic modeling techniques for facial features, body topology, and anatomical accuracy.
-
Hard Surface Modeling: Used for mechanical objects, architecture, vehicles, and products with precise edge flow.
-
Environment Modeling: Includes terrain, interior structures, foliage, props, etc.
-
Topology Optimization: Ensures that models are animation-friendly (clean edge loops, polygon count balance for LOD systems).
-
Sculpting vs. Retopology: Artists may sculpt using ZBrush for high-detail models and then retopologize manually or procedurally using tools like Quad Draw or Instant Meshes.
Software: Blender, Autodesk Maya, Cinema 4D, Modo, SketchUp (for architectural), Marvelous Designer (for simulated clothing), and Fusion 360 (for industrial CAD imports).
Texturing and Material Shading – Realism Through Surface Detailing
This stage defines how surfaces look and behave under light.
-
UV Unwrapping: Flattening a 3D model into a 2D plane to apply textures precisely.
-
Texture Maps Created:
-
Diffuse (Albedo): Base color
-
Normal/Bump: Surface detail without extra geometry
-
Roughness/Glossiness: Surface smoothness
-
Metallic: Determines reflectivity
-
Displacement/Height Maps: Used for physical surface alteration during render
-
-
Procedural Texturing: Uses mathematical functions or noise to generate tile-free textures (common in software like Substance Designer or Blender).
-
Material Shading: Defines interaction with light via shader graphs, implementing sub-surface scattering (for skin), transmission (for glass), or anisotropy (for brushed metal).
Rendered using PBR systems compatible with Unreal Engine, Unity, Cycles, Redshift, and others.
Building a Motion System
The rigging stage enables animation by preparing models for movement:
-
Bone Structure: Skeleton hierarchy with joint chains (e.g., spine, limbs, fingers).
-
IK/FK Systems: Inverse and forward kinematics allow both fluid and precise control over limb motion.
-
Control Curves/GUI Rigs: Animators use these to manipulate characters intuitively.
-
Facial Rigging:
-
Blendshapes/Morph Targets for expressions
-
Bone-based rigging for jaw, eyelids, and brows
-
-
Skin Binding & Weight Painting: Controls how mesh vertices are influenced by bones. Proper weight distribution avoids pinching or unnatural deformation.
Tools: Maya’s Advanced Skeleton, Auto-Rig Pro (Blender), CAT/Biped (3ds Max), and Advanced Rigging Toolkit.
Motion Crafting
Animation gives life to the scene, blending artistry with motion dynamics:
-
Keyframe Animation: Defining critical poses and interpolating in-between.
-
Graph Editor: Fine-tunes curves for position, rotation, and scale for smoother animation.
-
Motion Capture Integration: Captured data (e.g., from Rokoko, Xsens, or OptiTrack) is cleaned and retargeted onto characters.
-
Secondary Animation: Adds realism through inertia, overlapping action, and follow-through (hair bounce, cloth flutter).
-
Physics Simulations: Includes soft body, fluid, rigid body, and particle dynamics.
-
Procedural Animation: Uses logic-based rules (e.g., crowd simulations in Houdini).
Frame rates typically used: 24fps (cinematic), 30fps (broadcast), 60fps (game engine/export flexibility).
Lighting and Scene Composition – Creating Cinematic Depth
Lighting not only sets the mood but also guides visual storytelling.
-
Three-Point Lighting: Standard technique using key, fill, and rim lights for subjects.
-
HDRI Lighting: Environment lighting using high-dynamic range images to simulate real-world illumination.
-
Volumetric Effects: Includes light shafts, fog, and particles that react to light, adding depth.
-
Light Baking vs. Real-time Lighting: Baked for efficiency in games; real-time for cinematic rendering.
-
Camera Setup:
-
Focal length adjustments for perspective
-
Depth of field to blur backgrounds
-
Dynamic motion (e.g., dolly zooms, crane shots)
-
Tools: Unreal Engine, Arnold, Octane, Cycles, and Redshift.
Rendering – From Data to Imagery
The computationally intensive phase where all elements combine into final frames.
-
Render Settings:
-
Samples per pixel (anti-aliasing)
-
Ray depth (reflections/refractions)
-
GI bounces
-
-
Render Passes:
-
Beauty: Final image
-
AOVs: Ambient Occlusion, Z-depth, Shadow, ID masks
-
Cryptomatte: Allows isolated object adjustments in post
-
-
Render Farms: Distribute frames across cloud-based or local servers using tools like Deadline, AWS Thinkbox, or RebusFarm.
-
Output Formats: EXR for post-production flexibility, PNG/TIFF for high-resolution stills, or image sequences (PNG, TGA) for animation.
Post-Production and Compositing – Final Assembly & Polish
This final stage prepares the project for delivery with maximum impact.
-
Compositing:
-
Layering passes to control color grading, lens effects, bloom, and vignetting
-
Rotoscoping and masking for corrections
-
Green screen keying for mixed media
-
-
VFX Integration: Particles, explosions, light wraps, transitions
-
Sound Design:
-
Foley effects for realism
-
Ambient soundscapes
-
Synchronizing voiceovers and dialogues
-
-
Color Correction/Grading: Using DaVinci Resolve or After Effects Lumetri to match tone and brand identity.
-
Encoding and Export:
-
Broadcast standards (PAL/NTSC)
-
Social media versions (vertical, square, 16:9)
-
Compressed delivery formats (MP4, MOV) using proper bitrates
-
-
Starter Pack
-
AED400
per - ✓ Get Custom 1 Product Packaging Design
- ✓ 2 Different Packaging Design
Concepts to Choose From - ✓ Includes 1 Experienced Designer
- ✓ Providing Free Sample & Mockups
- ✓ Custom Size Are Available
- ✓ Photo Editing or Image Managing
- ✓ Full Product Wrapping Design
- ✓ Font, Back & Spine Design
- ✓ Dielines Marking
- ✓ Design in Languages: EN, DE, AR, ES & others
- ✓ Editable Format: AI, EPS, SVG, JPG
(Recommended Format) - ✓ Unlimited Revisions
- ✓ Delivery Time 24 Hours
- ✓ Full Copyright Transfer
- ✓ No Hidden Charges
- ✓ Money Back Guarantee
- ✓ Client Satisfaction Guaranteed
- ✓ 1 Year File Backup
- ✓ 24/7 Customer Support
- ✓ After Service Support
-
Growth Pack
-
AED1000
per - ✓ Get Custom 2 Product Packaging Design
- ✓ 4 Different Packaging Design Concepts to Choose From
- ✓ Includes 2 Experienced Designer
- ✓ Providing Free Sample & Mockups
- ✓ Custom Size Are Available
- ✓ Photo Editing or Image Managing
- ✓ Full Product Wrapping Design
- ✓ Font, Back & Spine Design
- ✓ Dielines Marking
- ✓ Design in Languages: EN, DE, AR, ES & others
- ✓ Editable Format: AI, EPS, SVG, JPG (Recommended Format)
- ✓ Unlimited Revisions
- ✓ Delivery Time 24 Hours
- ✓ Full Copyright Transfer
- ✓ No Hidden Charges
- ✓ Money Back Guarantee
- ✓ Client Satisfaction Guaranteed
- ✓ 1 Year File Backup
- ✓ 24/7 Customer Support
- ✓ After Service Support
-
Pro Pack
-
AED1500
per - ✓ Get Custom 3 Product Packaging Design
- ✓ 9 Different Packaging Design Concepts to Choose From
- ✓ Includes 3 Experienced Designer
- ✓ Providing Free Sample & Mockups
- ✓ Custom Size Are Available
- ✓ Photo Editing or Image Managing
- ✓ Full Product Wrapping Design
- ✓ Font, Back & Spine Design
- ✓ Dielines Marking
- ✓ Design in Languages: EN, DE, AR, ES & others
- ✓ Editable Format: AI, EPS, SVG, JPG (Recommended Format)
- ✓ Unlimited Revisions
- ✓ Delivery Time 48 Hours
- ✓ Full Copyright Transfer
- ✓ No Hidden Charges
- ✓ Money Back Guarantee
- ✓ Client Satisfaction Guaranteed
- ✓ 1 Year File Backup
- ✓ 24/7 Customer Support
- ✓ After Service Support
-
Master Pack
-
AED6500
per - ✓ Get Custom 5 Product Packaging Design
- ✓ 15 Different Packaging Design Concepts to Choose From
- ✓ Includes 7 Experienced Designer
- ✓ Providing Free Sample & Mockups
- ✓ Custom Size Are Available
- ✓ Photo Editing or Image Managing
- ✓ Full Product Wrapping Design
- ✓ Font, Back & Spine Design
- ✓ Dielines Marking
- ✓ Design in Languages: EN, DE, AR, ES & others
- ✓ Editable Format: AI, EPS, SVG, JPG (Recommended Format)
- ✓ Unlimited Revisions
- ✓ Delivery Time 96 Hours
- ✓ Full Copyright Transfer
- ✓ No Hidden Charges
- ✓ Money Back Guarantee
- ✓ Client Satisfaction Guaranteed
- ✓ 1 Year File Backup
- ✓ 24/7 Customer Support
- ✓ After Service Support
25000+
CODE LINES THIS MONTH
150+
LAUNCHED PROJECTS
9900+
COFFEE CUPS THIS YEAR
180+
REVIEWS AND RATINGS
This is Kallyas WordPress theme, a rich featured, epic, mature and premium work, destined for the typical modern website that needs to stand out.
Currently one of the best selling items on ThemeForest, featured across the marketplace and awarded with thousands of 5 stars ratings.

LATEST STORIES
VIEW ALL - 13 June 2025 by rdanuka@gmail.com, in IT TECHNOLOGY
Complete Size Guide to Social Media Networks
📘 Facebook Content Sizes & Supported Media Formats ✅ Profile Picture Recomme...READ MORE + 26 June 2017 by rdanuka@gmail.com, in IT TECHNOLOGY
Theoretical Foundations of Digital Marketing
Conveniently exploit B2C web services for emerging manufactured products. Contin...READ MORE + 22 August 2015 by rdanuka@gmail.com, in IT TECHNOLOGY,PRINTING
Progressively repurpose cutting-edge models
Seamlessly orchestrate process-centric best practices with end-to-end catalysts ...READ MORE +
just some keywords here, services or what any text you want